Chewy S’mores Bars Recipe: Easy No-Campfire Dessert (30 Min) | Averie Cooks
Table of Contents
S’mores Bars Dessert
Forget the campfire! These s’mores bars are so easy and delicious, you’ll want them all year long. Imagine biting into a perfectly chewy bar where golden graham crackers, melted chocolate, and pillowy marshmallows come together in one irresistible treat. The best part? You can make these heavenly bars in just 30 minutes using one bowl and simple pantry ingredients.
What Makes These S’mores Bars Special?
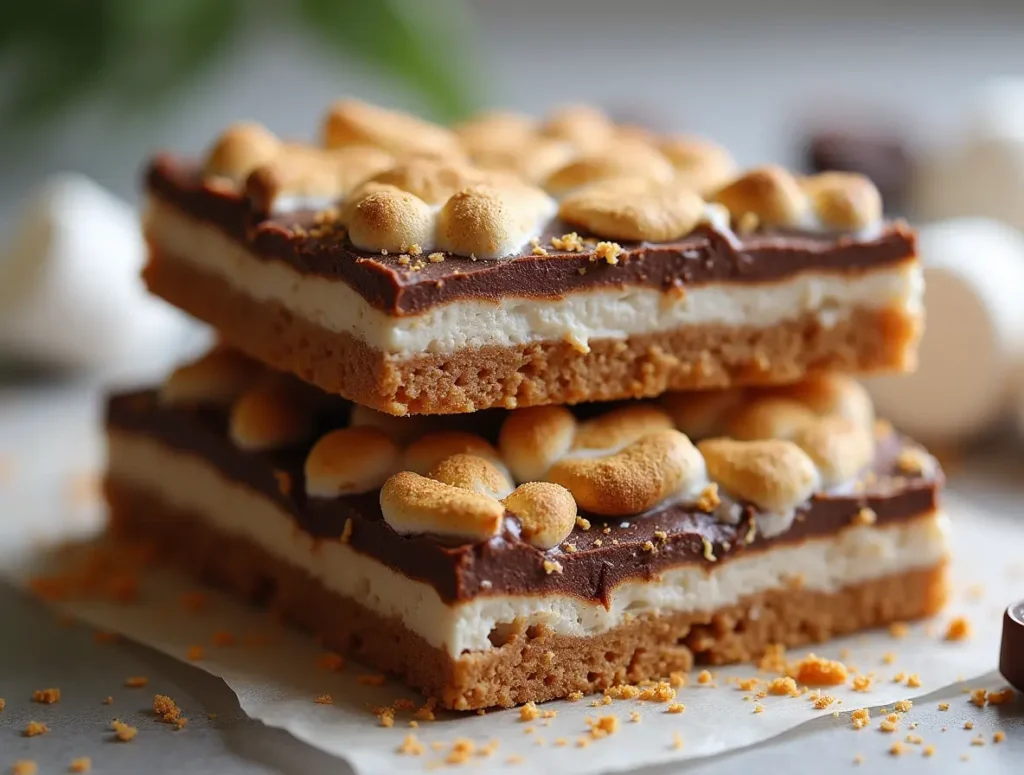
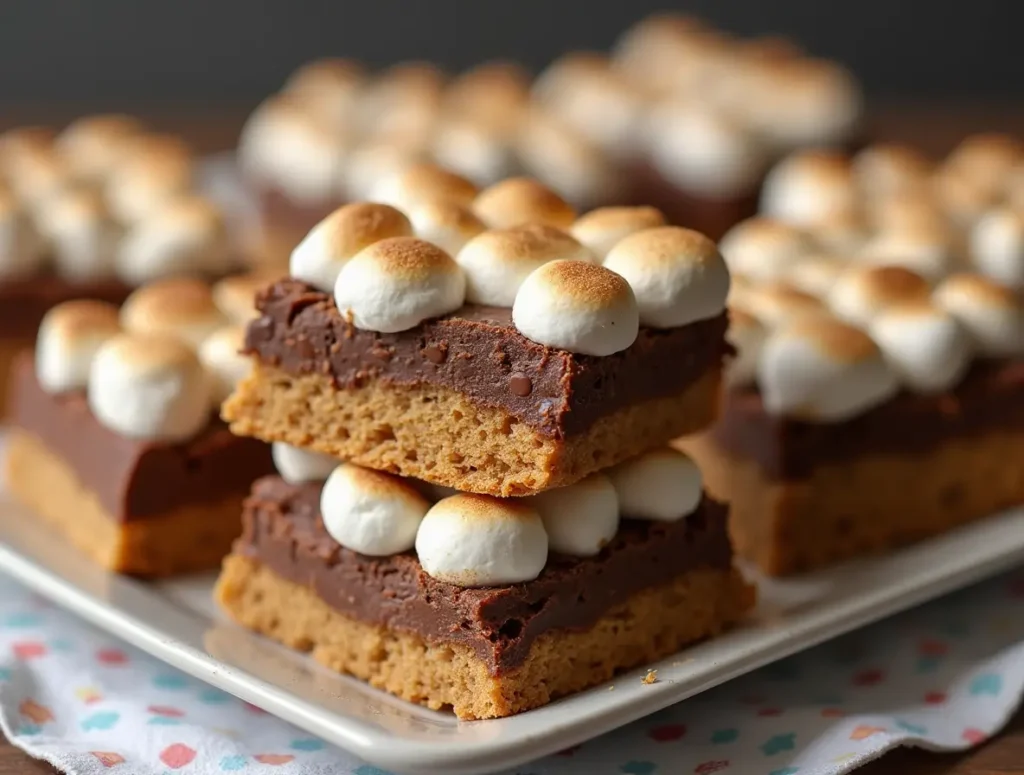
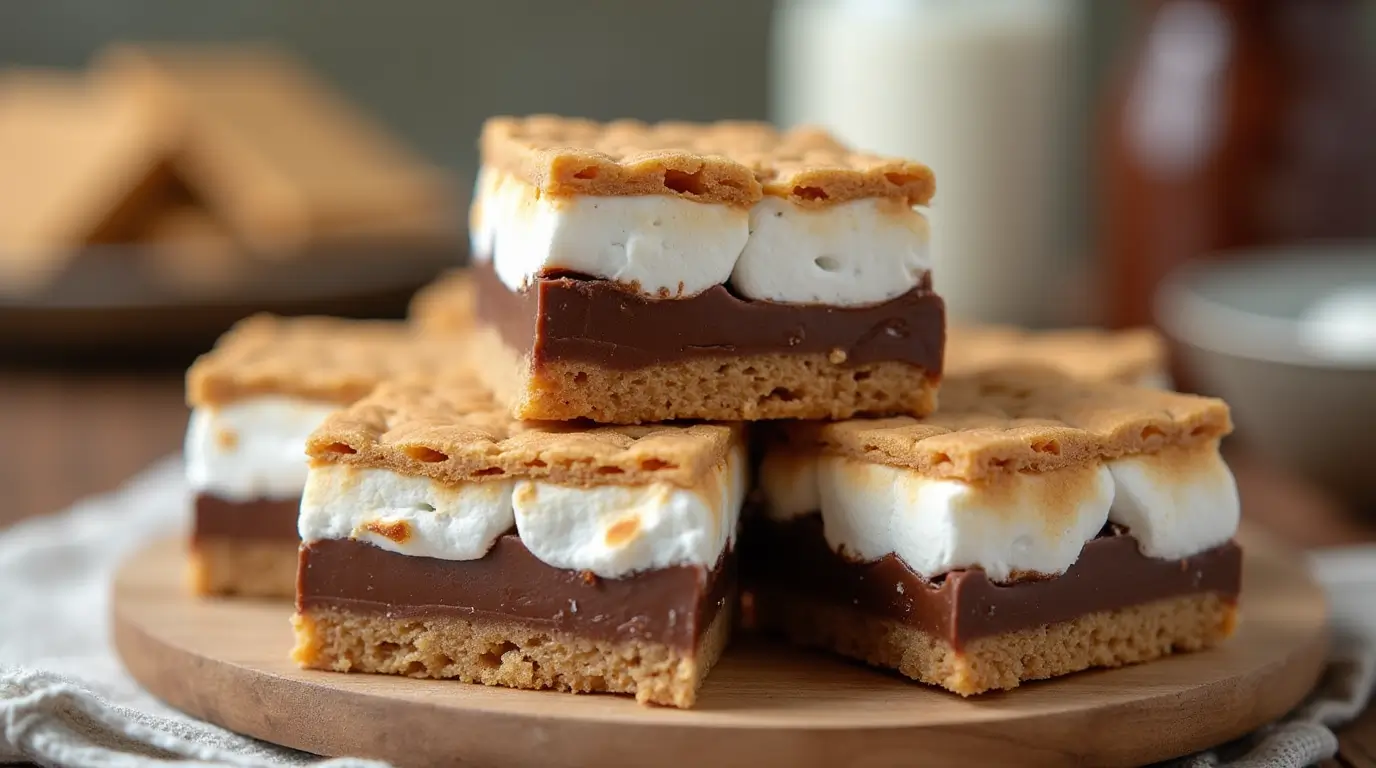
These aren’t your ordinary s’mores bars. Each bite delivers that classic campfire taste you love, but in a conveniently portable form that stays soft and gooey for days. The secret lies in the perfect balance of textures: a buttery graham cracker base, a layer of rich melted chocolate, and a crown of perfectly toasted marshmallows that remain deliciously chewy.
Ingredients You’ll Need
For the perfect chewy s’mores bars, gather these simple ingredients:
- 2 cups graham cracker crumbs (about 16 full sheets)
- 1 cup unsalted butter, melted
- 1/3 cup packed brown sugar
- 2 cups semi-sweet chocolate chips
- 2 1/2 cups mini marshmallows
- 1/4 teaspoon salt

Ingredient Notes and Variations
Want to make these bars your own? Try these delicious twists:
- Swap semi-sweet chocolate for dark chocolate for a richer flavor
- Add a layer of creamy peanut butter before the chocolate
- Sprinkle chopped nuts between layers for extra crunch
- Use gluten-free graham crackers for a celiac-friendly version
Step-by-Step Instructions
- Prepare Your Pan Preheat your oven to 350°F (175°C). Line a 9×13 inch baking pan with parchment paper, leaving overhang for easy removal.
- Create the Base Combine melted butter, graham cracker crumbs, and brown sugar in a large bowl until the mixture resembles wet sand. Press firmly into your prepared pan to create an even base.
- Layer the Chocolate Sprinkle chocolate chips evenly over the graham cracker base. They’ll melt perfectly during baking, creating that signature s’mores chocolate layer.
- Add the Marshmallow Magic Distribute mini marshmallows evenly across the chocolate layer. They’ll puff up and turn golden brown while baking.
- Bake to Perfection Bake for 15-20 minutes, watching carefully near the end. The marshmallows should be lightly golden on top but still soft and gooey underneath.

Pro Tips for the Perfect Chewy Texture
The key to irresistibly soft s’mores bars lies in the timing and temperature:
- Don’t overbake! Remove from the oven when marshmallows are just golden
- Let cool for 30 minutes before cutting for clean slices
- Store at room temperature to maintain that perfect chewy consistency
Frequently Asked Questions
Can I double the recipe? Yes! Use a larger baking pan and increase baking time by 5-7 minutes.
What type of chocolate works best? Semi-sweet chocolate chips are ideal, but any good quality chocolate will work. Just avoid chocolate candy bars, which can separate during baking.
Can I use regular marshmallows instead of mini ones? Yes, but cut them in half for better distribution and more even melting.
How should I store these bars? Store in an airtight container at room temperature for up to 5 days. Layer with wax paper to prevent sticking.
Can I freeze s’mores bars? While possible, freezing isn’t recommended as it can affect the marshmallow texture. These bars are best enjoyed fresh within a few days.
Final Tips for Success
The secret to achieving that perfect chewy texture is all in the timing. Watch your bars carefully during the final minutes of baking – you want the marshmallows to be just golden brown on top while remaining soft and gooey underneath. This sweet spot ensures your s’mores bars stay deliciously chewy and maintain that irresistible texture that’ll keep everyone coming back for more.
Remember, these bars are meant to be soft and gooey – that’s what makes them special! If they seem a bit too soft when they first come out of the oven, don’t worry. They’ll set up perfectly as they cool while maintaining that heavenly, chewy texture that makes them absolutely irresistible.
Conclusion:
Why These Chewy S’mores Bars Will Become Your Go-To Dessert
There’s something magical about transforming the classic campfire treat into these irresistibly chewy s’mores bars. Not only do they capture all the beloved flavors of traditional s’mores – the buttery graham crackers, rich melted chocolate, and perfectly toasted marshmallows – but they do so in a form that’s even more convenient and just as delicious.
What makes these bars truly special is their versatility. Whether you’re planning a summer party, need a crowd-pleasing dessert for a bake sale, or simply want to surprise your family with a nostalgic treat, these s’mores bars rise to every occasion. The fact that they stay soft and chewy for days means you can make them ahead of time, though we doubt they’ll last that long!
The beauty of this recipe lies in its simplicity. With just a handful of ingredients and 30 minutes of your time, you can create a dessert that tastes like it came from a gourmet bakery. The carefully calibrated ratios of graham crackers, chocolate, and marshmallows ensure that each bite delivers the perfect balance of flavors and that signature chewy texture that makes these bars so addictive.
Remember, baking is about more than just following a recipe – it’s about creating memories and sharing joy through food. These s’mores bars do exactly that, bringing the cozy comfort of campfire treats into your kitchen any time of year. So preheat that oven, gather your ingredients, and get ready to experience s’mores in a whole new, deliciously chewy way.
Don’t forget to share your creations with us by tagging #ChewySmoreBars and @AverieCooks on social media. We love seeing your versions of this beloved recipe and hearing about all the smiles these treats bring to your family and friends!

