
How to Make Chocolate Covered Chips in 5 Easy Steps
Table of Contents
Introduction
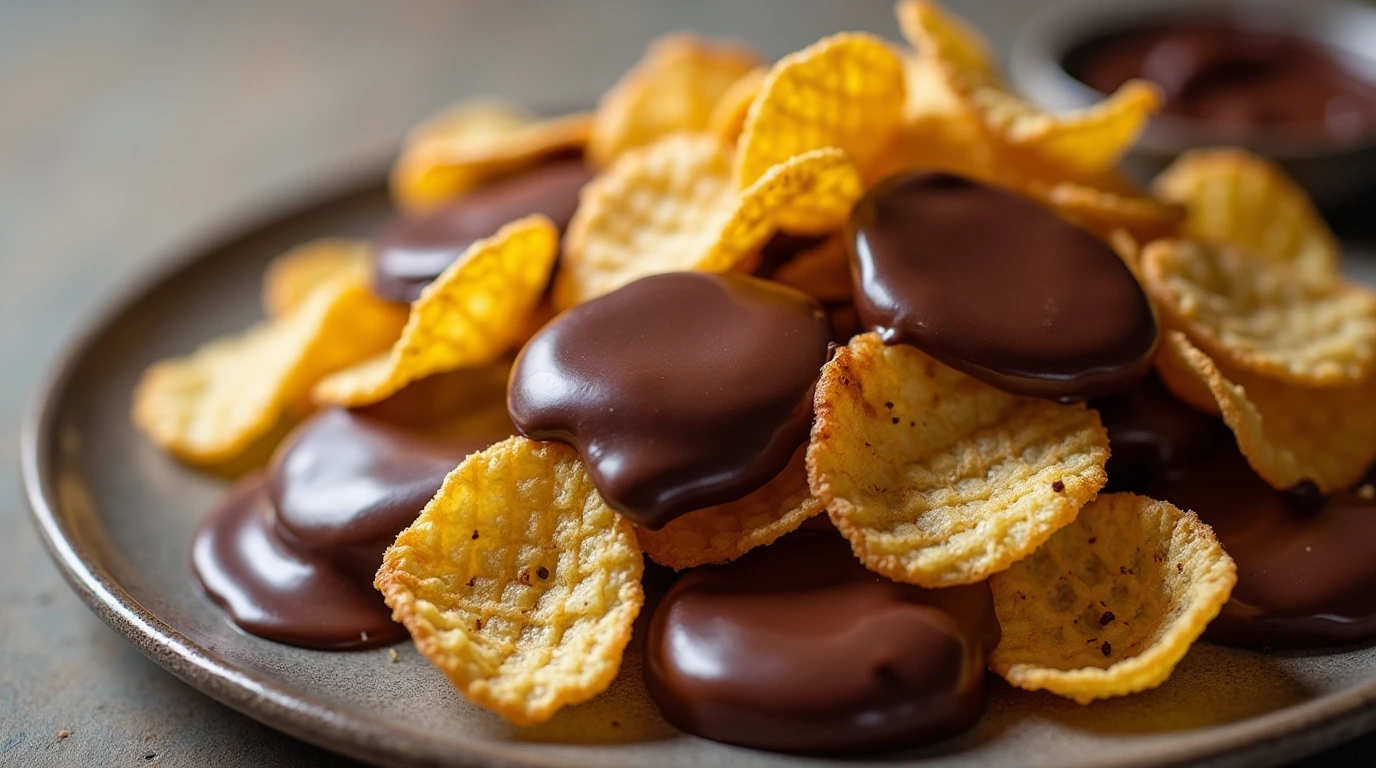
Who can resist the perfect combination of sweet and salty? Chocolate Covered Chips are the ultimate treat that satisfies every craving in one bite! Imagine crispy, salty potato chips coated in a smooth, rich layer of chocolate—sounds heavenly, right? This recipe is not only delicious but also incredibly simple to make, requiring just a handful of ingredients and minimal effort. Whether you’re hosting a party, looking for a fun snack to make with the kids, or simply treating yourself, this recipe is a winner.
Fun fact: Chocolate-covered snacks have been around for decades, but the idea of pairing chocolate with salty chips is a modern twist that’s taken the culinary world by storm. It’s like the lovechild of your favorite candy bar and a bag of chips! If you loved our [insert related recipe, e.g., “Chocolate-Covered Pretzels”], you’re going to adore this recipe. Ready to dive in? Let’s get started!
What is Chocolate Covered Chips?
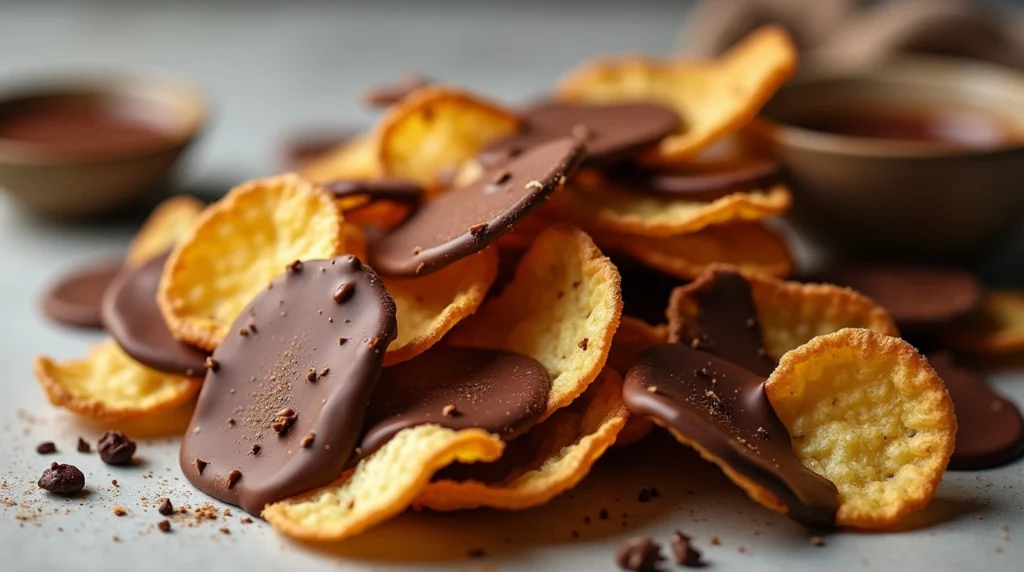
Ever wondered how something as simple as a potato chip could become a gourmet treat? Chocolate Covered Chips are exactly what they sound like—crispy chips dipped in luscious chocolate. But why stop there? You can drizzle them with caramel, sprinkle them with sea salt, or even add a dash of crushed nuts for extra crunch.
Is it a snack? A dessert? A guilty pleasure? The answer is yes to all! The name might sound straightforward, but the flavor is anything but ordinary. As the saying goes, “the way to a man’s heart is through his stomach,” and this recipe is sure to win over anyone who tries it. So, why not give it a go? Trust us, your taste buds will thank you!
Why You’ll Love This Chocolate Covered Chips
- The Perfect Sweet & Salty Combo: Chocolate Covered Chips are the ultimate indulgence, combining the rich, creamy taste of chocolate with the satisfying crunch of salty chips. It’s a match made in snack heaven!
- Budget-Friendly and Easy to Make: Skip the store-bought versions and save money by making these at home. With just a few ingredients, you can whip up a batch in no time.
- Endless Customization Options: From dark chocolate to milk chocolate, and toppings like sprinkles, crushed nuts, or even a pinch of sea salt, you can tailor this recipe to your taste.
If you enjoyed our [insert related recipe, e.g., “Chocolate-Covered Strawberries”], you’ll love how versatile and fun this recipe is. Ready to create your own batch? Let’s get started!
How to Make Chocolate Covered Chips
Quick Overview
This recipe is as easy as it gets! With just 5 simple steps, you’ll have a batch of Chocolate Covered Chips ready to enjoy. The process involves melting chocolate, dipping the chips, and adding your favorite toppings. The best part? It takes less than 30 minutes from start to finish!
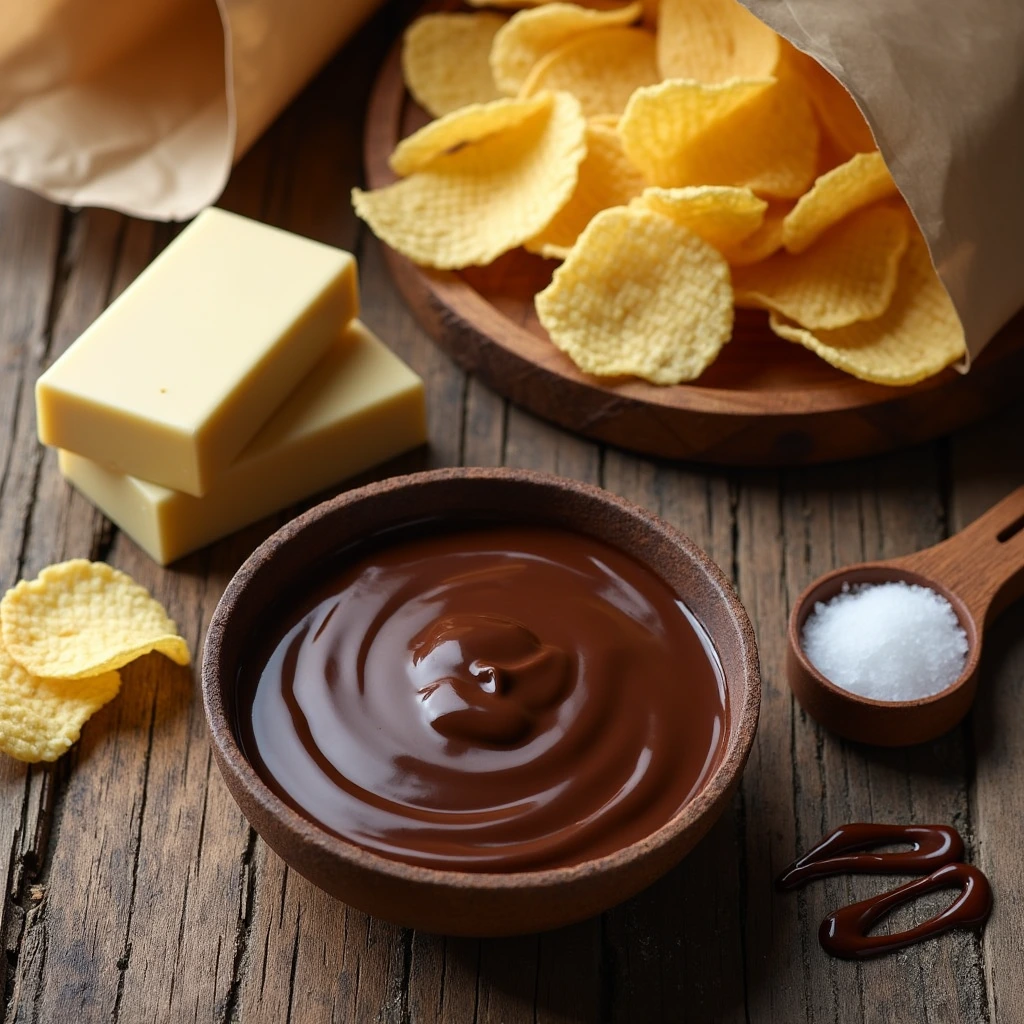
Key Ingredients for Chocolate Covered Chips
Here’s what you’ll need:
- 1 bag of your favorite potato chips (ridged chips work best for holding chocolate)
- 2 cups of high-quality chocolate chips (dark, milk, or white chocolate)
- 1 tablespoon of coconut oil (optional, for smoother melting)
- Toppings of your choice (e.g., sea salt, crushed nuts, sprinkles, or caramel drizzle)

Pro Tip: Use a double boiler or microwave to melt the chocolate for a smooth, glossy finish.
Step-by-Step Instructions
- Prepare Your Workspace: Line a baking sheet with parchment paper or a silicone mat. This will prevent the chips from sticking.
- Melt the Chocolate: In a microwave-safe bowl or double boiler, melt the chocolate chips with coconut oil (if using) in 30-second intervals, stirring until smooth.
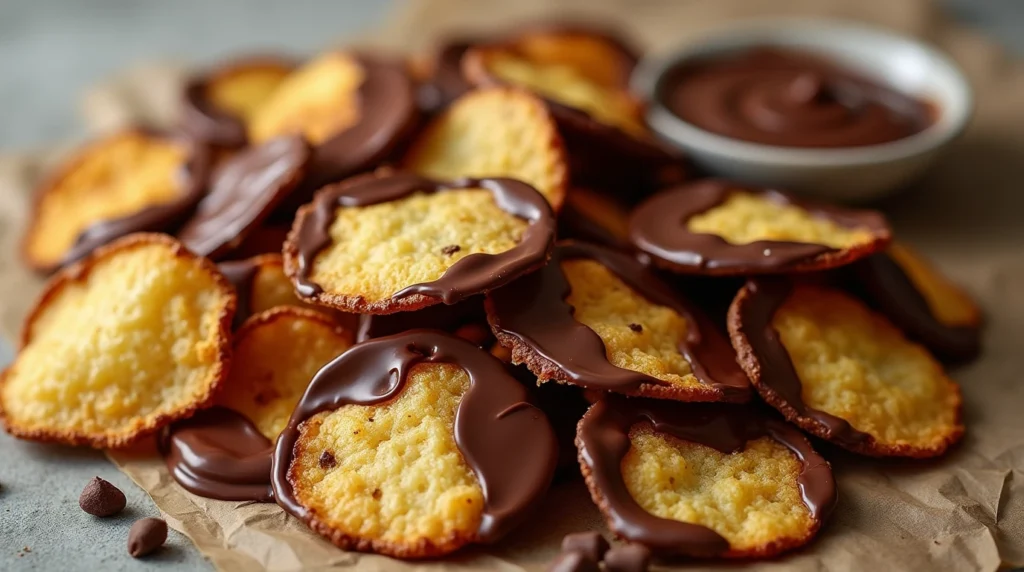
- Dip the Chips: Carefully dip each chip halfway into the melted chocolate, ensuring it’s fully coated. Use a fork to lift the chip and let excess chocolate drip off.
- Add Toppings: While the chocolate is still wet, sprinkle your desired toppings over the chips.
- Set and Serve: Place the coated chips on the prepared baking sheet and let them cool at room temperature or in the fridge for 10-15 minutes until the chocolate hardens.
What to Serve Chocolate Covered Chips With
These treats are perfect on their own, but here are a few pairing ideas to elevate your snacking game:
- A glass of cold milk or a cup of hot coffee for a classic combo.
- Fresh fruit like strawberries or bananas for a healthier twist.
- A scoop of vanilla ice cream for an indulgent dessert.
Top Tips for Perfecting Chocolate Covered Chips
- Use High-Quality Chocolate: The better the chocolate, the better the taste. Opt for brands with a high cocoa content for a richer flavor.
- Don’t Overheat the Chocolate: Melt it slowly to avoid burning or seizing.
- Experiment with Toppings: Get creative with your toppings to make each batch unique.
Storing and Reheating Tips
- Storage: Store Chocolate Covered Chips in an airtight container at room temperature for up to 3 days or in the fridge for up to a week.
- Freezing: Place them in a single layer on a baking sheet, freeze until solid, then transfer to a freezer-safe bag. They’ll keep for up to 2 months.
- Reheating: No reheating needed! Simply let them come to room temperature before serving.
Conclusion
Chocolate Covered Chips are the ultimate treat for anyone who loves the perfect balance of sweet and salty. With just a few simple steps, you can create a snack that’s sure to impress your family and friends. Whether you’re making them for a party, a gift, or just because, this recipe is a guaranteed crowd-pleaser.
So, what are you waiting for? Grab your ingredients and start dipping!
FAQs
1. Can I use other types of chips?
Absolutely! Try this recipe with tortilla chips, pretzels, or even crackers for a fun twist.
2. What’s the best chocolate to use?
It depends on your preference. Dark chocolate offers a rich flavor, while milk chocolate is sweeter and creamier.
3. Can I make these ahead of time?
Yes! These chips store well, making them a great make-ahead snack for parties or gifts.
4. How do I prevent the chocolate from cracking?
Adding a small amount of coconut oil to the chocolate helps keep it smooth and prevents cracking.
5. Are there vegan options?
Yes! Use vegan chocolate chips and ensure your toppings are plant-based for a vegan-friendly version.
Now that you’re armed with all the tips and tricks, it’s time to get creative in the kitchen. Happy snacking!
Try These Recipes Next !!
If you love cooking and are looking for more recipes, we have a selection you’ll enjoy.
- https://leckerrecipes.com/garlic-parmesan-cheese-burger-bombs/
- https://leckerrecipes.com/cream-cheese-phyllo-recipe/
- https://leckerrecipes.com/apple-cheesecake-tacos/
Leave a Reply
There are no reviews yet. Be the first one to write one.