Cherry Pie Bars: The Ultimate Easy Dessert Recipe
Table of Contents
Cherry Pie Bars
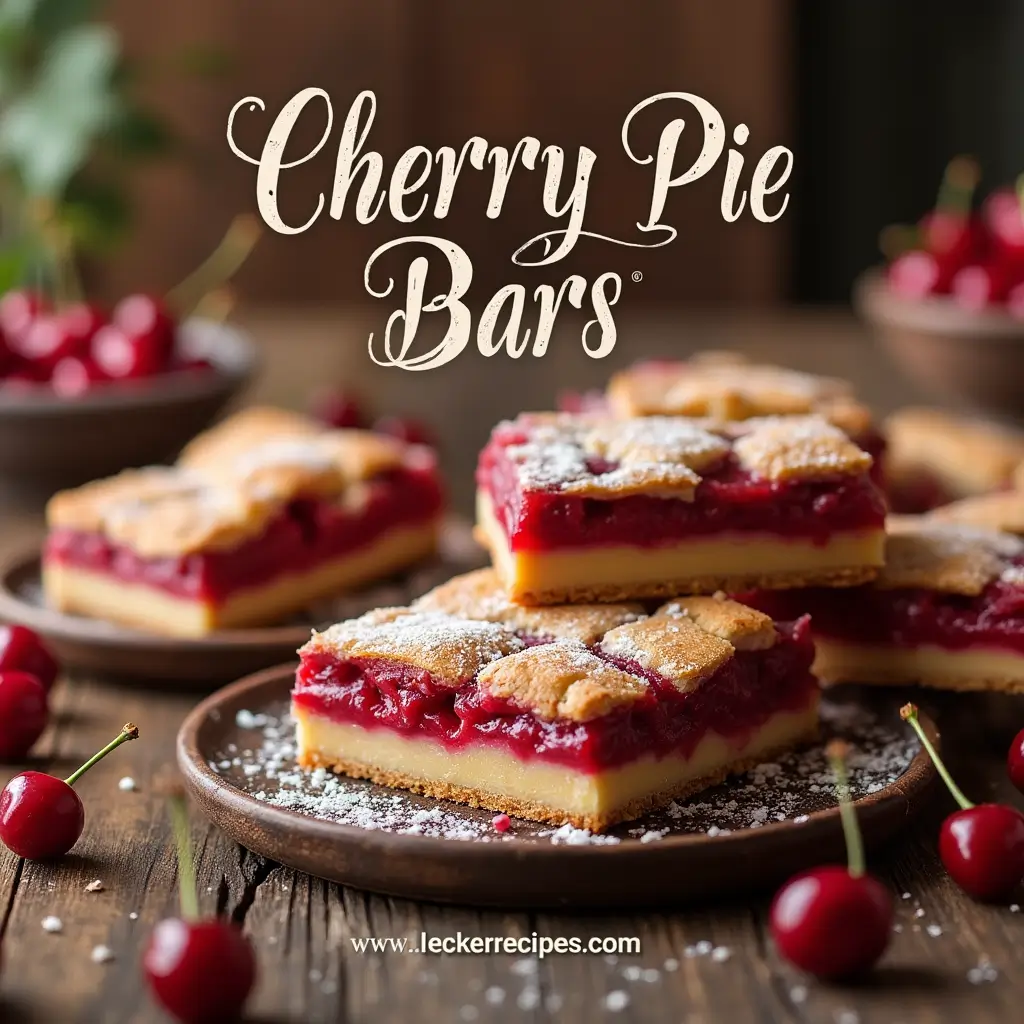
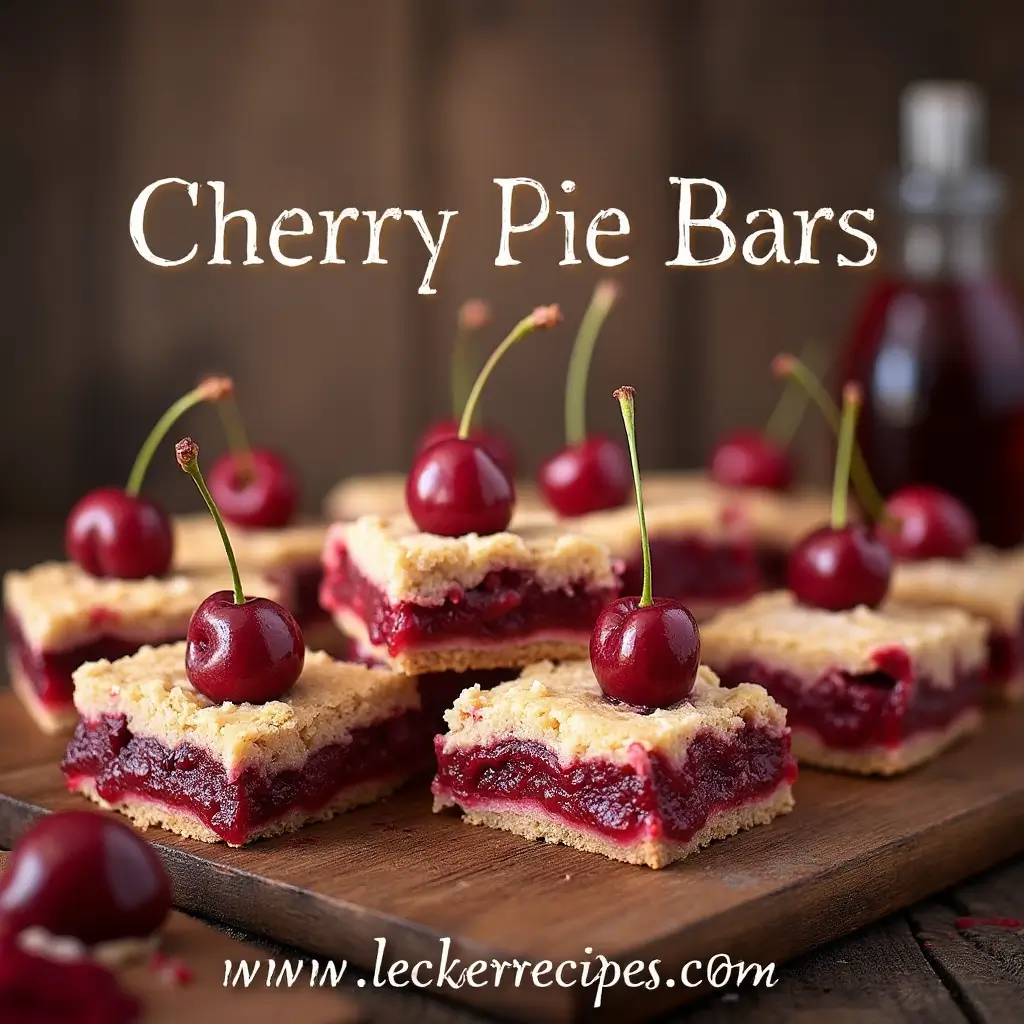
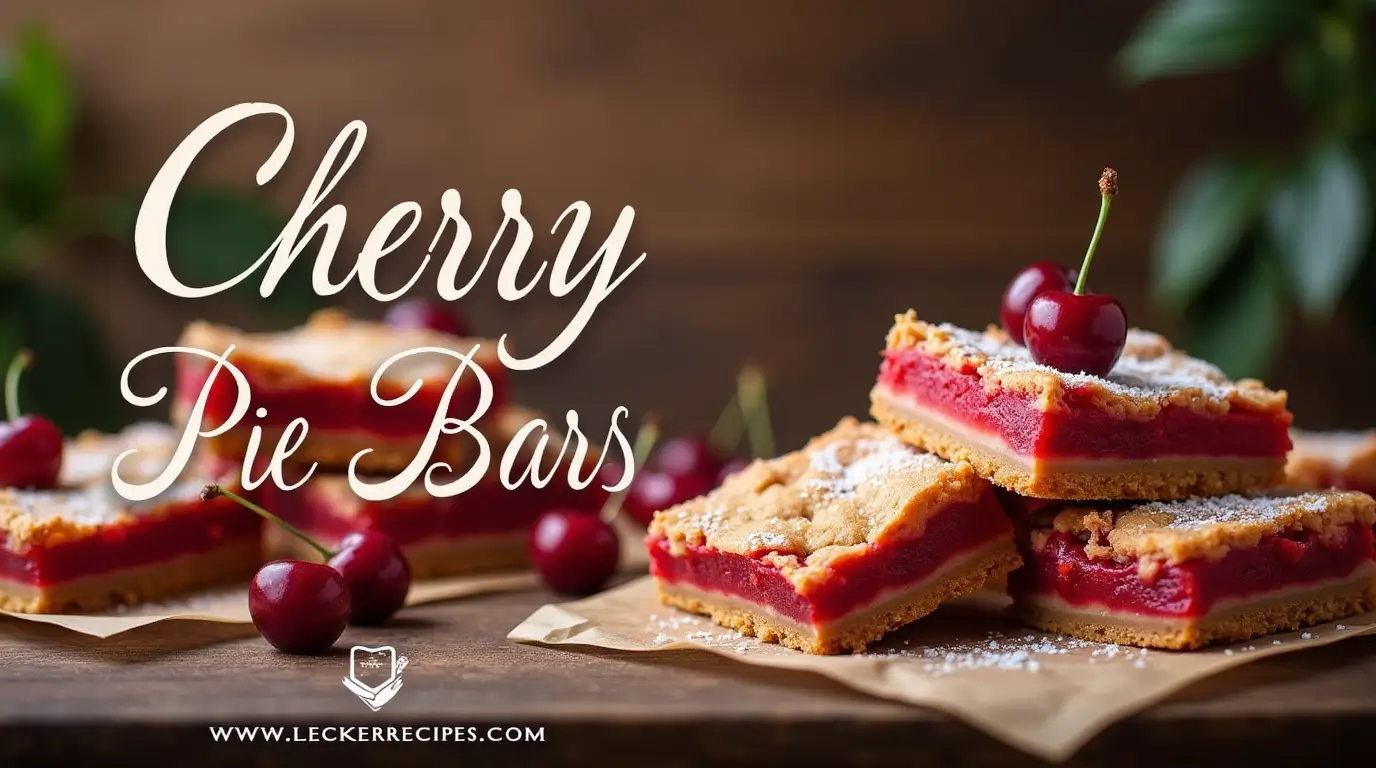
There’s something magical about the combination of buttery crust and sweet-tart cherries that makes everyone’s eyes light up. These cherry pie bars capture all the beloved flavors of a traditional cherry pie, but in an easy-to-make, portable format that’s perfect for everything from family gatherings to holiday celebrations.
Why You’ll Love These Cherry Pie Bars
As someone who’s been baking for decades, I’ve found that the best recipes are often the ones that combine simplicity with incredible flavor. These cherry pie bars deliver that perfect balance. The buttery shortbread-like base cradles a generous layer of cherry filling, all topped with a delicate crumb that provides just the right amount of texture.
The Secret to Perfect Cherry Pie Bars
The Base Layer
- 3 cups all-purpose flour
- 1 cup granulated sugar
- 1 teaspoon baking powder
- 1 cup cold butter, cubed
- 1 large egg
- 1 teaspoon vanilla extract
The Cherry Layer
- 2 cans (21 oz each) cherry pie filling
- 1/2 teaspoon almond extract (optional, but magical)
The Crumb Topping
- Reserved base mixture (about 1 cup)


Making the Magic Happen
- Start by preheating your oven to 350°F (175°C). Line a 9×13-inch baking pan with parchment paper, leaving overhang for easy removal later.
- For the base, whisk together flour, sugar, and baking powder in a large bowl. Cut in the cold butter using a pastry cutter or your fingers until the mixture resembles coarse crumbs. Add the egg and vanilla, mixing until the dough just comes together.
- Reserve about 1 cup of the mixture for the topping. Press the remaining dough firmly into your prepared pan.
- Combine the cherry pie filling with almond extract, then spread evenly over the base.
- Sprinkle the reserved crumb mixture over the cherries.
- Bake for 45-50 minutes, or until the top is lightly golden and the filling is bubbling around the edges.
Pro Tips for Success
- Keep your butter cold! This creates that perfect flaky texture in the base and topping.
- Don’t skip the parchment paper – it makes removal and cleanup so much easier.
- Let the bars cool completely before cutting for clean, neat squares.
Storage and Make-Ahead Tips
These bars keep beautifully at room temperature for 2-3 days when stored in an airtight container. You can also freeze them for up to 3 months – just wrap individual portions in plastic wrap and store in a freezer bag.
Creative Variations
While the classic cherry version is hard to beat, don’t be afraid to experiment:
- Try different pie fillings like blueberry, apple, or mixed berry
- Add a cream cheese drizzle for extra decadence
- Sprinkle sliced almonds on top before baking
- Mix some oats into the crumb topping for added texture
Nutritional Information (per bar)
Reader Tips and Reviews
“These bars were a huge hit at our family gathering! The almond extract really makes the cherry flavor pop. Will definitely make again!” – Sarah M.
“I’ve made these three times now and they turn out perfect every time. My tip: let them cool completely before cutting!” – Mike R.
Troubleshooting FAQ
Q: Can I use fresh cherries instead of pie filling? A: Yes! Cook about 4 cups of pitted cherries with 1/2 cup sugar and 2 tablespoons cornstarch until thickened.
Q: Why did my base crack? A: This usually happens if the dough is pressed too firmly into the pan. Use gentle pressure when creating the base layer.
Q: Can I make these gluten-free? A: Yes, substitute the flour with a 1:1 gluten-free baking flour blend.
More Cherry Delights to Try
If you love these cherry pie bars, don’t miss out on our other cherry favorites:
- Classic Cherry Pie
- Cherry Cheesecake Bars
- Cherry Almond Coffee Cake
- No-Bake Cherry Cheesecake
Remember to subscribe to our newsletter for more delicious recipes, baking tips, and seasonal favorites delivered right to your inbox. Follow us on Instagram and Pinterest for daily inspiration and behind-the-scenes baking adventures!
These cherry pie bars aren’t just another dessert – they’re a gateway to creating sweet memories with loved ones. Whether you’re an experienced baker or just starting out, this recipe promises delicious results every time.
Conclusion
A slice of nostalgia, a touch of simplicity, and a whole lot of flavor – that’s what these cherry pie bars represent. After years of baking and recipe development, I can confidently say these bars strike the perfect balance between ease and indulgence. They embody everything we love about traditional cherry pie, but in a convenient, crowd-pleasing format that’s perfect for any occasion.
What makes these cherry pie bars truly special isn’t just their delicious taste – it’s their ability to bring people together. Whether you’re making them for a family gathering, a holiday celebration, or simply because it’s Tuesday, they never fail to spark joy and create lasting memories. The combination of buttery crust, sweet-tart cherries, and that perfectly crumbly topping has a way of making any moment feel just a little bit more special.
Remember, baking doesn’t have to be complicated to be extraordinary. These bars are proof that with just a handful of simple ingredients and some love, you can create something truly memorable. So go ahead, preheat that oven, and get ready to experience the magic of these cherry pie bars for yourself.
Don’t forget to share your creations with us! Tag us on social media using #CherryPieBars, or leave a comment below sharing your experience. Your feedback and creative variations inspire our community and help others on their baking journey.
And if you enjoyed this recipe, make sure to subscribe to our newsletter for more delicious recipes, baking tips, and seasonal favorites delivered straight to your inbox. Happy baking!
Looking for more fruit bar recipes? Check out our Apple Crumble Bars or Blueberry Oat Bars for more delicious variations on this theme.

