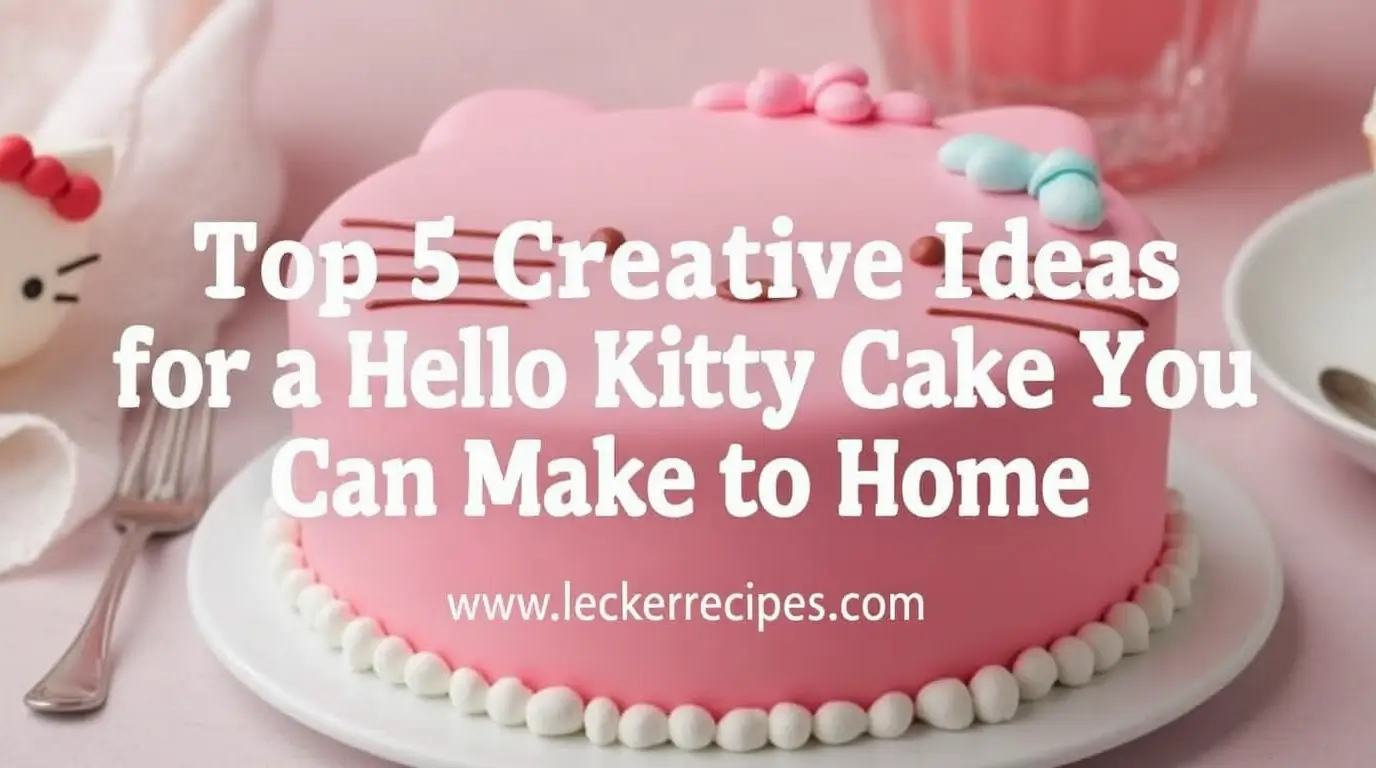
Top 5 Creative Ideas for a Hello Kitty Cake You Can Make at Home
Table of Contents
Turn your next celebration into an adorable kawaii experience with these creative Hello Kitty cake designs. From simple to sophisticated, these ideas are perfect for both beginners and experienced bakers.
Hello Kitty, the beloved feline character, has captured the hearts of fans around the globe with her charming design and playful personality. If you’re looking to add a touch of whimsy to your next celebration, a Hello Kitty cake is the perfect centerpiece. Whether it’s for a birthday, a baby shower, or just a fun get-together, making a Hello Kitty cake at home can be a delightful and rewarding experience. In this post, we’ll explore the top five creative ideas for crafting your very own Hello Kitty cake, complete with tips and tricks to ensure it looks as adorable as it tastes!
Basic Cake Recipe (Base for All Designs)
Ingredients
- 3 cups all-purpose flour
- 2 1/2 teaspoons baking powder
- 1/2 teaspoon salt
- 1 cup unsalted butter, softened
- 2 cups granulated sugar
- 4 large eggs, room temperature
- 2 teaspoons vanilla extract
- 1 1/4 cups whole milk
Base Buttercream
- 4 cups unsalted butter, softened
- 8 cups powdered sugar
- 2 tablespoons vanilla extract
- 4-6 tablespoons heavy cream
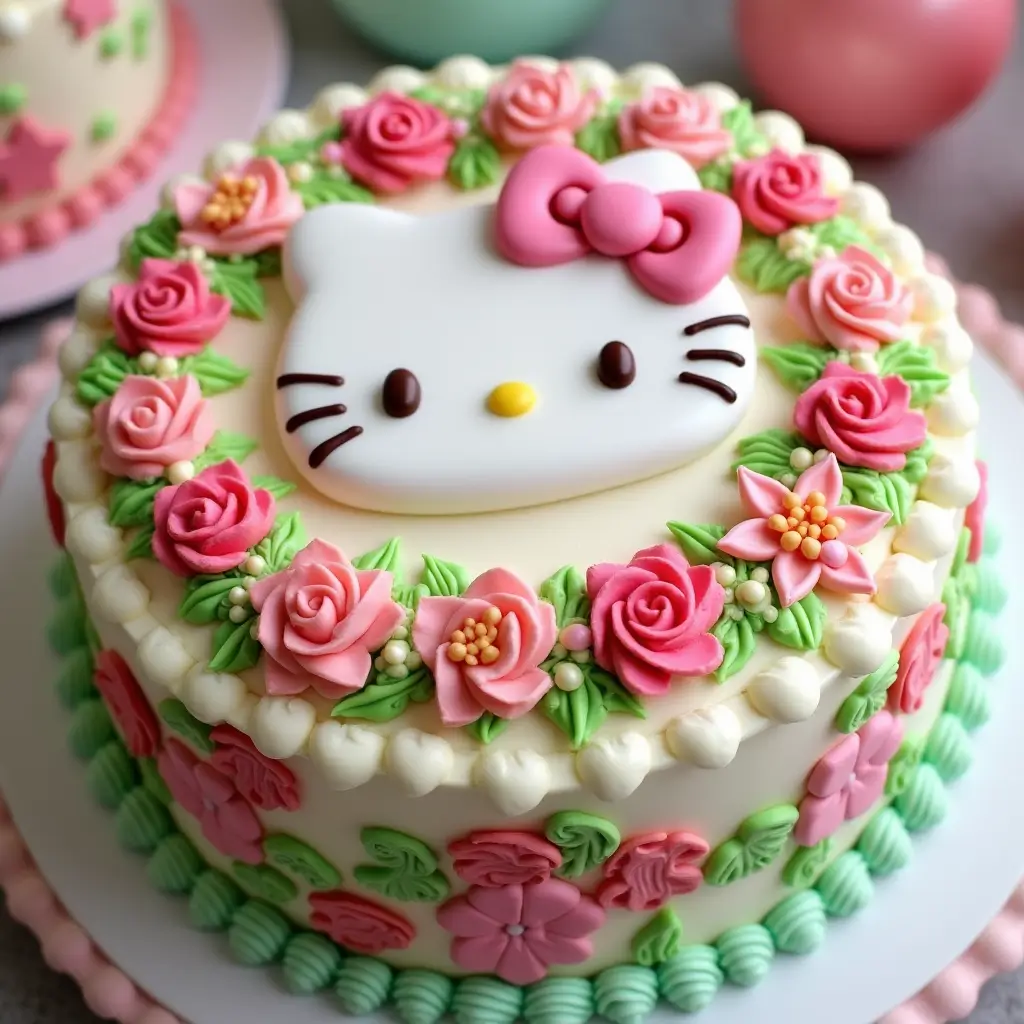
Design 1: Classic Hello Kitty Face Cake
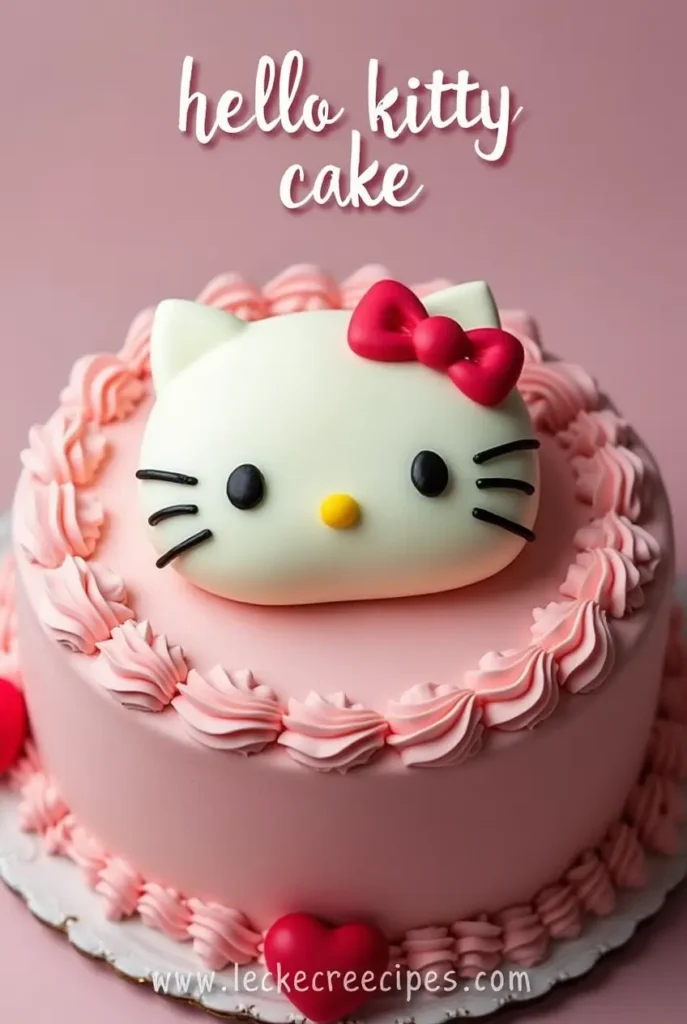
Perfect for beginners, this design features Hello Kitty’s iconic face on a round cake.
What You’ll Need
- White fondant
- Black fondant
- Yellow fondant
- Pink gel food coloring
- Red fondant for bow
Instructions
- Create an 8-inch round cake
- Cover with pink buttercream
- Make Hello Kitty’s face using white fondant circle
- Add black fondant eyes and whiskers
- Create small yellow nose
- Top with signature red bow
Design 2: Hello Kitty Pull-Apart Cupcake Cake
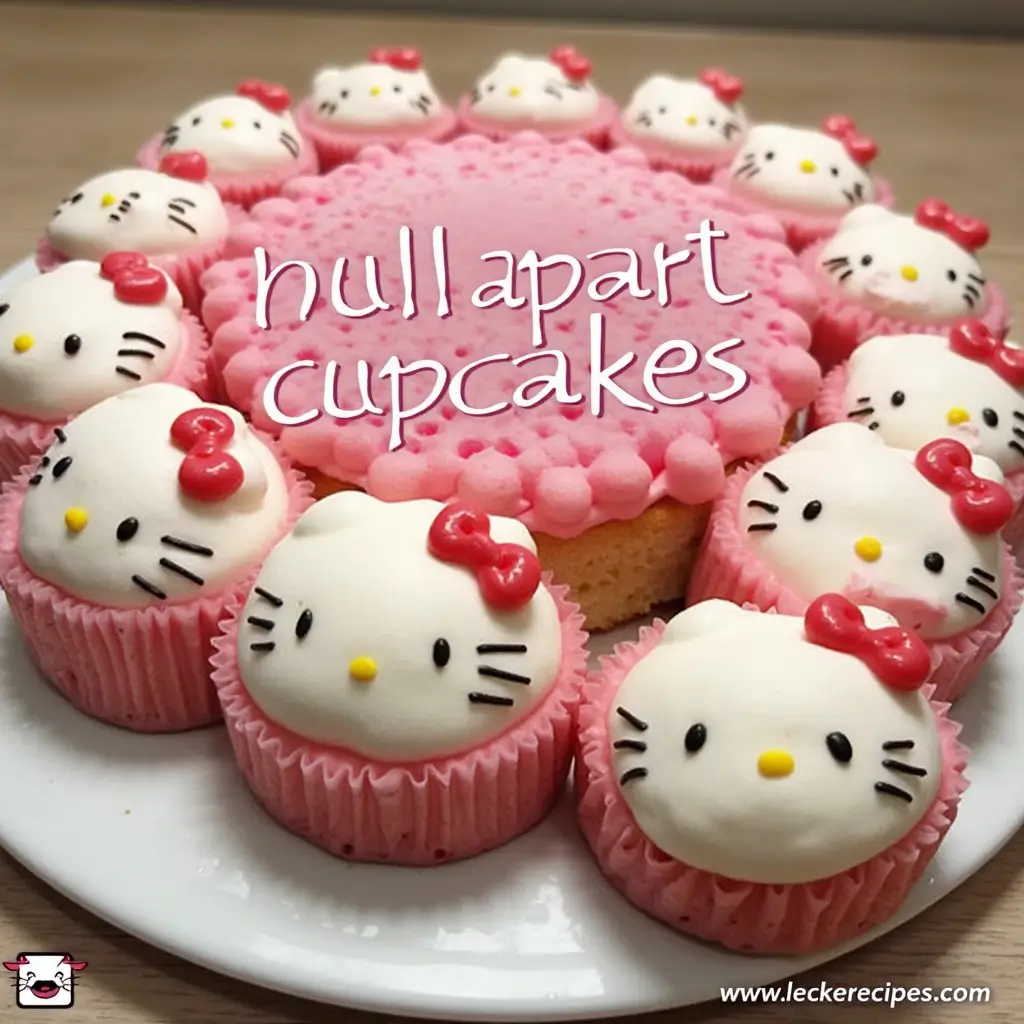
An easier alternative that’s perfect for serving.
Special Materials
- 24 cupcakes
- Pink and white buttercream
- Black piping gel
- Red fondant ribbons
Assembly Steps
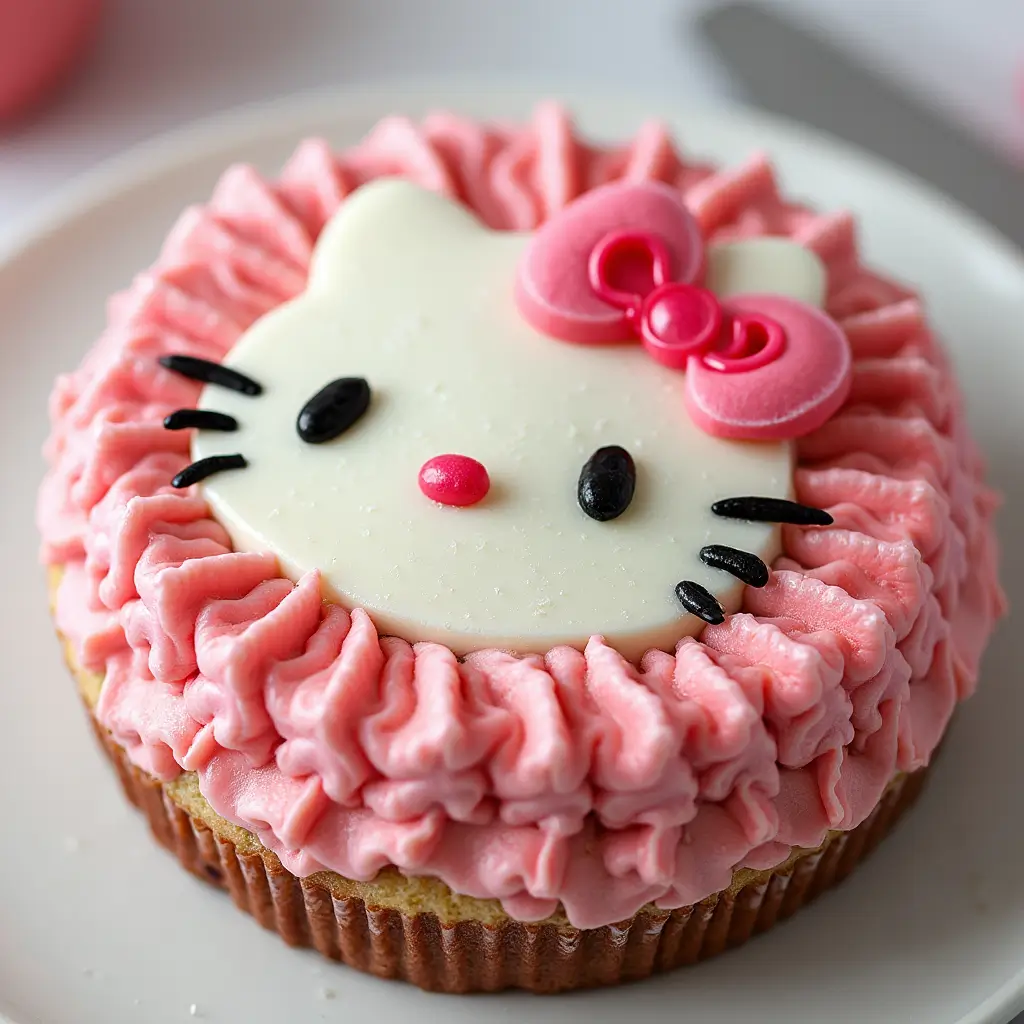
- Arrange cupcakes in Hello Kitty’s head shape
- Frost outer cupcakes in pink
- Create face with white frosted cupcakes
- Pipe features with black gel
- Add fondant bow
Design 3: 3D Hello Kitty Cake
For the ambitious baker, this standing Hello Kitty is sure to impress.
Additional Tools Needed
- Cake carving tools
- Support dowels
- Rice crispy treats for structure
- White modeling chocolate
Construction Method
- Create layered cake base
- Carve basic shape
- Add rice crispy treat details
- Cover with modeling chocolate
- Add facial features and accessories
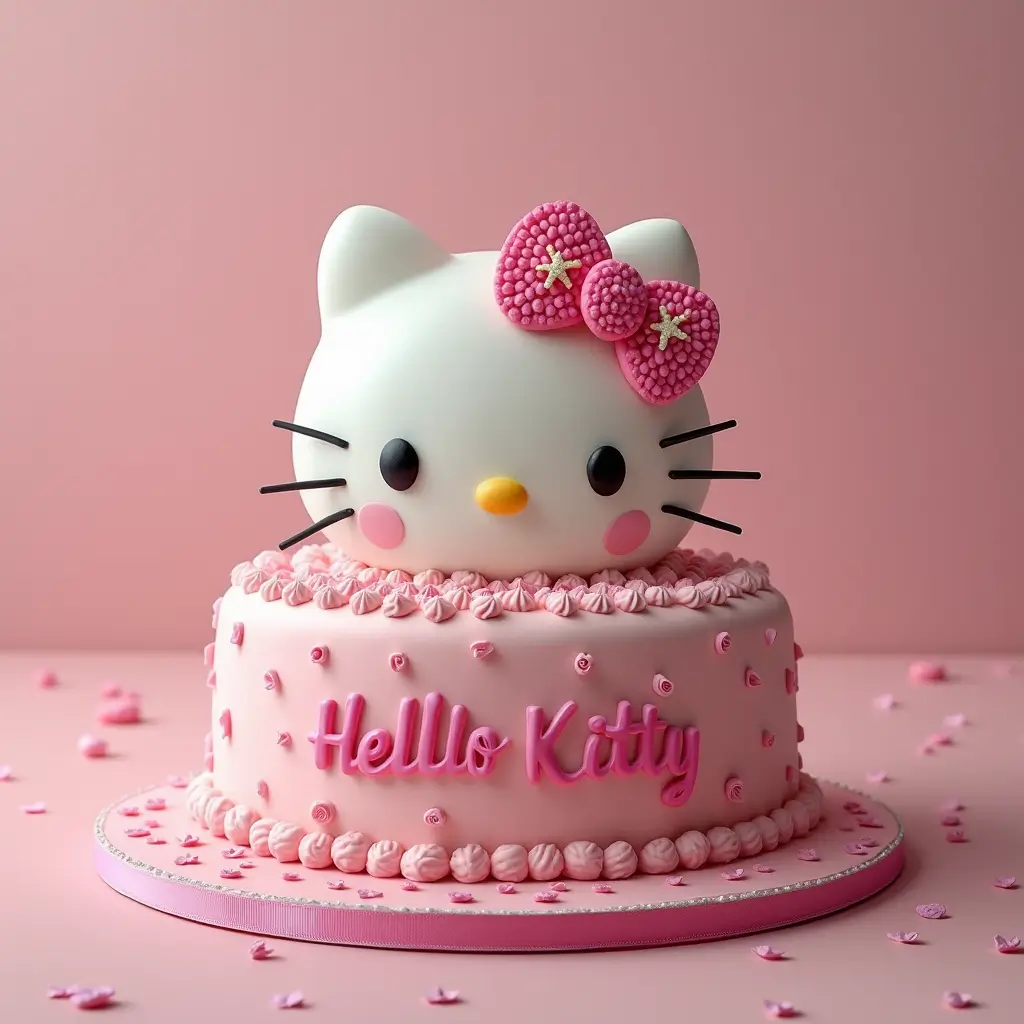
Design 4: Hello Kitty Garden Party Cake
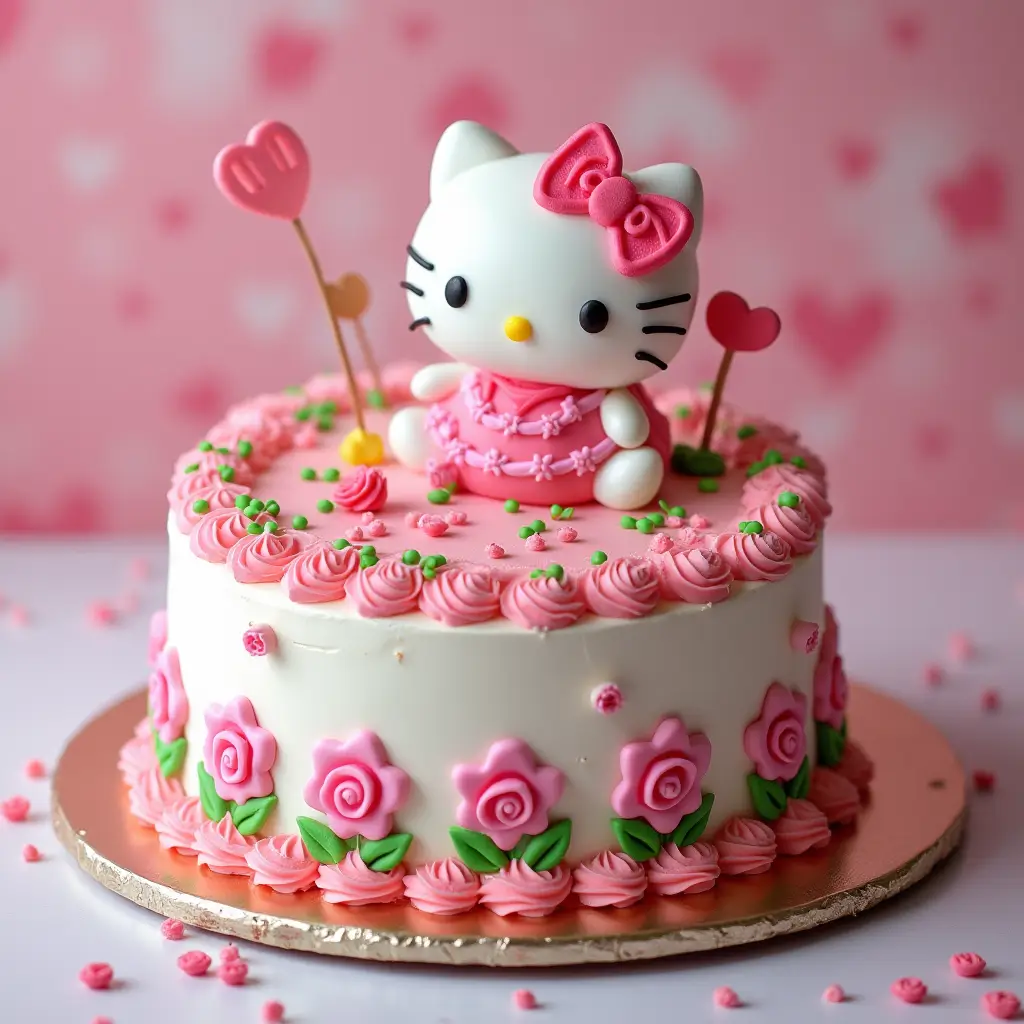
A whimsical design featuring Hello Kitty in a garden setting.
Decorative Elements
- Fondant flowers
- Green buttercream grass
- Sugar butterflies
- Hello Kitty topper
Decoration Steps
- Cover cake in sky blue buttercream
- Pipe grass border
- Add fondant flowers
- Place Hello Kitty figure
- Arrange butterflies
Design 5: Hello Kitty Number Cake
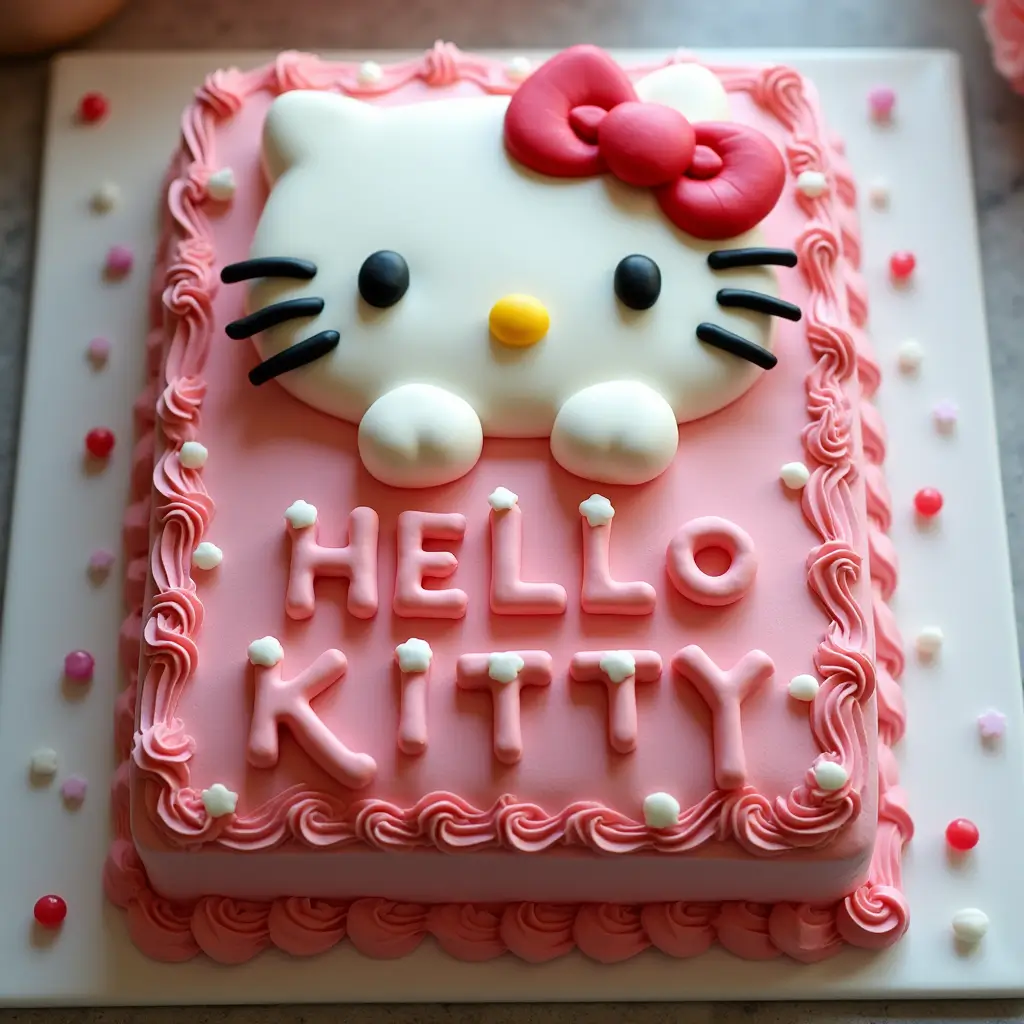
Perfect for birthday celebrations.
Materials Needed
- Number-shaped cake pan
- Pink and white buttercream
- Macarons for decoration
- Fresh berries
- Mini chocolate bows
Assembly Guide
- Bake number-shaped cake
- Cover with pink buttercream
- Pipe white details
- Add Hello Kitty features
- Decorate with macarons and berries
Expert Tips
- Work in a cool room to prevent fondant from becoming sticky
- Make decorative elements in advance
- Use templates for consistent shapes
- Chill cake between steps
- Keep spare buttercream for touch-ups
Storage Instructions
- Room Temperature: Up to 3 days
- Refrigerated: Up to 1 week
- Freezer: Up to 3 months (undecorated)
Common Questions
- Can I use store-bought fondant? Yes, but knead well before using
- How far in advance can I make decorations? Up to a week
- Can I use buttercream instead of fondant? Yes, but designs may be simpler
- How do I transport the cake? Keep chilled and use a sturdy box
Remember, practice makes perfect! Start with the simpler designs and work your way up to more complex ones as you gain confidence.f
Conclusion
Creating a Hello Kitty cake at home can be a fun and fulfilling project that impresses your friends and family. With these five creative ideas, you have the tools to bring this iconic character to life in your baking. Remember, the key to a stunning Hello Kitty cake is not just in the design, but also in the love and creativity you pour into it. So don your apron, roll up your sleeves, and prepare to delight your guests with a whimsical dessert that’s sure to be the talk of the party!
FAQs
1. What are the essential ingredients for a basic Hello Kitty cake? A basic Hello Kitty cake typically requires flour, sugar, eggs, butter, baking powder, vanilla extract, and milk. You can also use food coloring for the batter and frosting to achieve Hello Kitty’s signature colors.
2. Can I use store-bought cake mixes for a Hello Kitty cake? Absolutely! Using a store-bought cake mix is a great time-saving option. Just follow the package instructions and focus on the creative decoration for the Hello Kitty theme.
3. What type of frosting works best for decorating a Hello Kitty cake? Buttercream frosting is ideal for decorating as it’s easy to work with and can hold its shape well. Fondant can also be used for a smoother finish, though it requires a bit more skill.
4. How can I easily shape the Hello Kitty face on my cake? You can use a round cake pan to bake the cake and then cut out the shape of Hello Kitty’s face. Stencils or templates can help guide your design, ensuring that you get the adorable features just right.
5. Are there any tips for making a two-tier Hello Kitty cake? For a two-tier cake, ensure the bottom layer is sturdy enough to support the top. Use cake dowels for stability between the layers. Decorate each tier separately and stack them carefully before adding the final touches.

