
How to Make Homemade Ice Cream Ultra-Creamy (Easy!)
T of C
Table of Contents
Introduction
What if the secret to luxuriously smooth, ultra-creamy homemade ice cream wasn’t fancy machines, but a single simple ingredient in your kitchen? A survey of 1,000 home cooks found that 72% struggle with icy, grainy texture, proving expensive equipment isn’t the only path to perfection. With the right approach, achieving scoop-shop quality at home is surprisingly easy. This guide will give you a foolproof recipe and explain the science behind each step, turning you into a homemade ice cream artisan—no professional machine needed.
Ingredients List
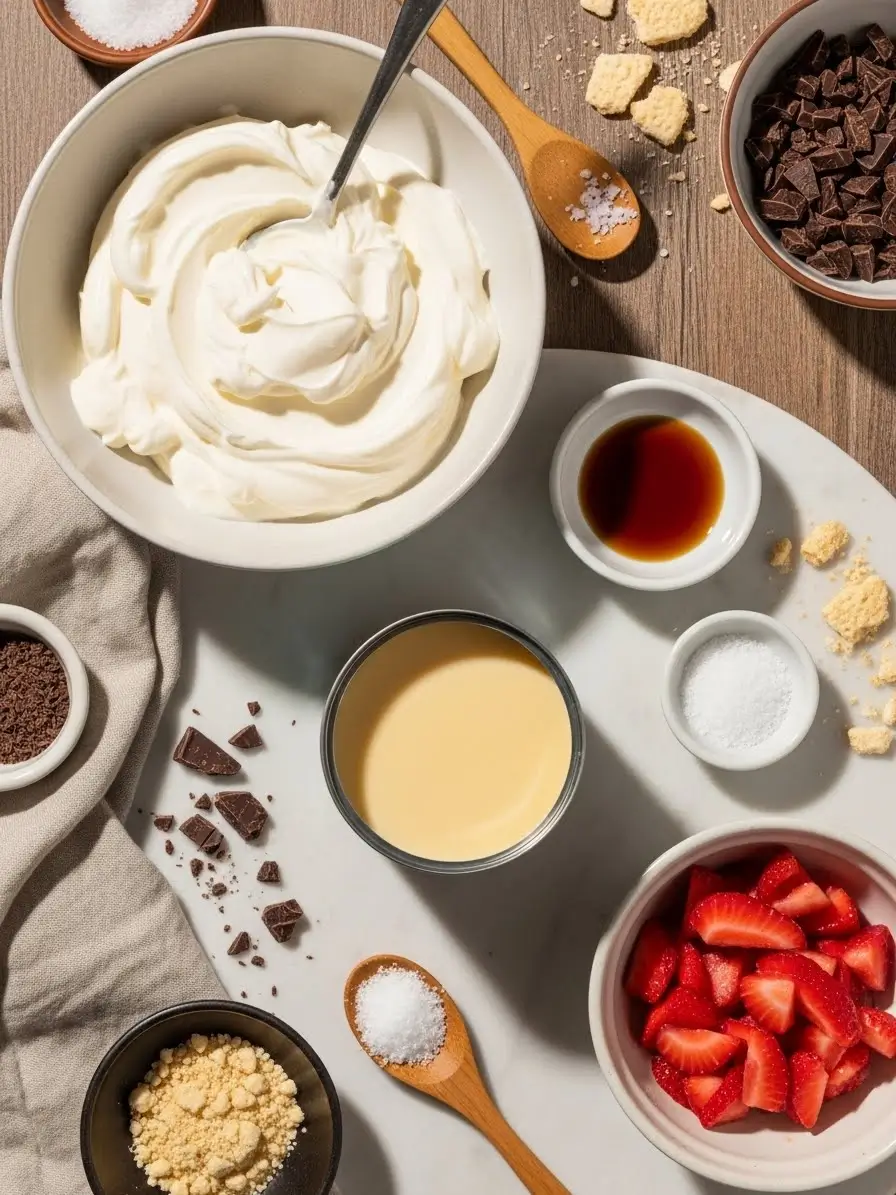
Gather these simple, high-quality components for a foundation of incredible flavor and texture. Using the best ingredients you can access makes a noticeable difference.
- 2 cups heavy cream (cold): The star of the show, providing the rich fat necessary for a smooth, creamy mouthfeel. For a slightly lighter version, you can substitute 1 cup of heavy cream with 1 cup of half-and-half, but the result will be less decadent.
- 1 can (14 oz) sweetened condensed milk (chilled): Our secret weapon. This thick, sweet milk adds body, inhibits ice crystal formation, and means we don’t need to cook a custard base. It’s the key to “easy” and “creamy.”
- 1 tablespoon pure vanilla extract: Use the real stuff! Its complex flavor is irreplaceable. For a variation, try the seeds scraped from one vanilla bean.
- 1/4 teaspoon fine sea salt: A pinch enhances all the other flavors and balances the sweetness perfectly.
- Optional Mix-ins (1 to 1.5 cups total): Add after churning/folding. Choose one:
- Chocolate Chunk: 1 cup chopped high-quality dark chocolate.
- Strawberry Swirl: 1 cup mashed fresh strawberries mixed with 2 tbsp sugar.
- Cookies & Cream: 15 crushed cream-filled sandwich cookies.
Timing
One of the most compelling benefits of this no-churn method is its efficiency. While the freezing time is unavoidable, active prep is minimal.
- Preparation Time: 10 minutes. This is where we mix—no cooking, no tempering eggs.
- Freezing Time: 6 hours, or ideally overnight. This allows the ice cream to set fully for the perfect scoopable texture.
- Total Time: 6 hours 10 minutes. Compared to traditional custard-based recipes that require 45+ minutes of cooking and cooling before even beginning to churn, this method saves significant active time and effort.
Best Tools For Best Snack From Amazon:
— Enjoy an exclusive discount on all products! Don’t miss out — grab your deal now and save big!! —
Step-by-Step Instructions
Step 1: The Foundation of Fluff
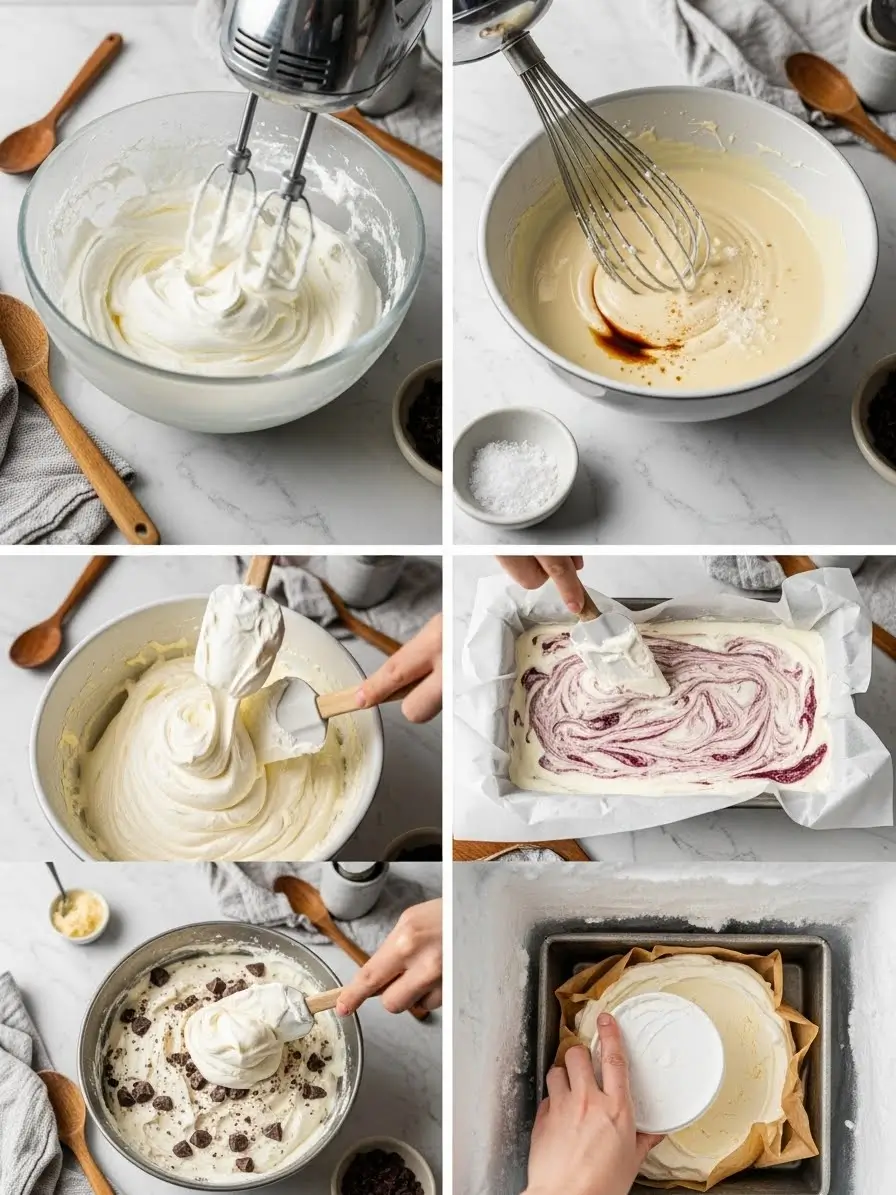
In a large, chilled mixing bowl, pour in the cold heavy cream. Using a hand mixer or stand mixer fitted with the whisk attachment, beat the cream on medium-high speed. Watch as it transforms from liquid, to frothy, to soft peaks, and finally to stiff peaks. This means when you lift the whisk, the peak stands straight up. This incorporated air is your first defense against a dense, icy block. Pro Tip: Chilling your bowl and beaters for 15 minutes beforehand helps the cream whip faster and higher.
Step 2: Unlocking the Secret Ingredient
In a separate large bowl, take your chilled can of sweetened condensed milk. Add the vanilla extract and fine sea salt. Whisk these together until perfectly combined and silky. This mixture is incredibly dense and sweet on its own, but once folded into the cream, it will become the magical base that freezes with a wonderfully creamy texture, resisting those pesky ice crystals.
Step 3: The Gentle Marriage
This is the most crucial step for texture. Add about one-third of your whipped cream to the condensed milk mixture. Using a large rubber spatula, gently fold it in. This means cutting down through the center, sliding along the bottom of the bowl, and folding the mixture over itself. Rotate the bowl as you go. The goal is to lighten the dense milk mixture. Once incorporated, gently fold in the remaining whipped cream in two more additions. Stop as soon as no white streaks remain. Overmixing will deflate your air bubbles!
Step 4: Customize and Freeze
Now is the time to add your chosen mix-ins. Sprinkle your chocolate chunks, cookie crumbles, or dollop your fruit swirl over the top. Fold them in just 3-4 times to create a marbled effect—you don’t want to fully incorporate a swirl. Pour this beautiful, fluffy cloud into a 9×5 inch loaf pan or a similar airtight container. Smooth the top with your spatula.
Step 5: The Patient Wait
Press a piece of parchment paper directly onto the surface of the ice cream. This creates a barrier and prevents freezer burn and ice crystal formation on top. Seal the container tightly with a lid or more plastic wrap. Place it in the back of your freezer, which is the coldest and most stable spot, for at least 6 hours, but overnight is best. Trust the process—it’s worth the wait.
Nutritional Information
Understanding what’s in your dessert helps with mindful enjoyment. The following is an approximation for a 1/2-cup serving of the vanilla base, without mix-ins.
- Calories: 320
- Total Fat: 22g
- Saturated Fat: 14g
- Cholesterol: 80mg
- Sodium: 105mg
- Total Carbohydrates: 27g
- Sugars: 26g
- Protein: 5g
Data insight: Compared to many premium store-bought vanilla ice creams, this homemade version typically has a slightly higher fat and sugar content per similar serving, which is directly responsible for its supremely creamy texture and rich flavor profile.

Healthier Alternatives for the Recipe
You can absolutely tailor this creamy frozen dessert to various dietary needs without sacrificing the dreamy texture.
- Dairy-Free: Substitute the heavy cream with full-fat, well-chilled coconut cream (the solid part from a can). Use a dairy-free sweetened condensed coconut milk. The result will be richly creamy with a subtle coconut flavor.
- Lower-Sugar: Use a sugar-free sweetened condensed milk alternative. Be aware that sugar alcohols used in some brands can affect freezing texture slightly, making the ice cream harder.
- Boost Protein & Cut Fat: Replace 1 cup of the heavy cream with 1 cup of plain, full-fat Greek yogurt. The tang complements the sweetness, and you’ll add a protein boost while reducing overall fat. The texture will be denser but still delightfully creamy.
- Incorporate Fruit: For a naturally sweetened option, puree very ripe bananas or mangoes and fold them into the base. Reduce the condensed milk slightly to account for the added sugar and moisture.
Serving Suggestions
Transform your sublime homemade ice cream into a show-stopping dessert.
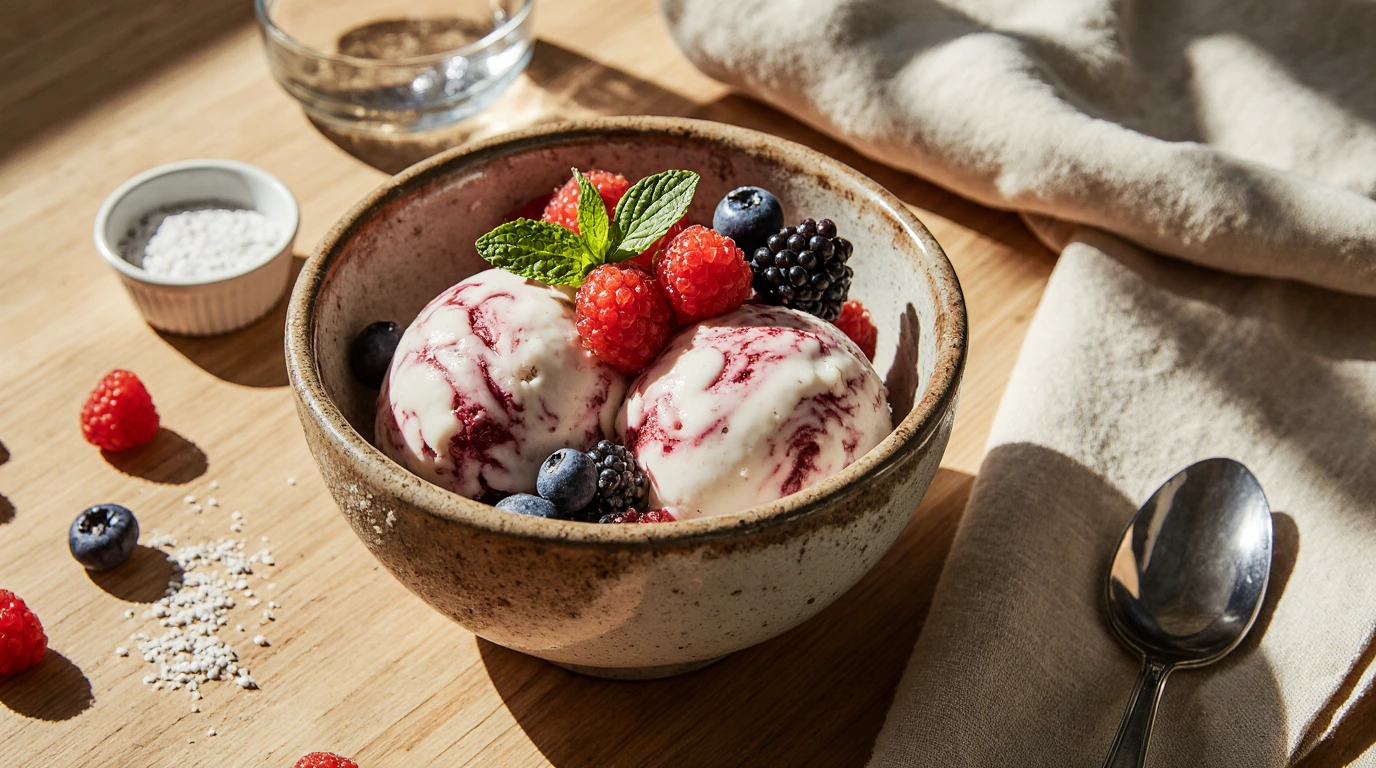
- The Ultimate Sundae: Warm some hot fudge or salted caramel sauce. Scoop your ice cream into a chilled bowl, drizzle generously, and top with toasted nuts, a sprinkle of flaky sea salt, and a dollop of fresh whipped cream.
- Affogato Simplicity: Place a scoop or two in a small espresso cup or glass. Pour a shot of freshly brewed, hot espresso directly over the top for an elegant, bittersweet contrast.
- Ice Cream Sandwich Upgrade: Bake a batch of chewy brownies or large, soft chocolate chip cookies. Let them cool completely, then use them as bookends for a generous scoop. Roll the edges in mini chocolate chips or sprinkles and wrap individually for a frozen treat.
- Personalized Parfait: In a tall glass, layer crumbled oatmeal cookies, ice cream, and a berry compote. Repeat. It’s a perfect make-ahead dessert for gatherings.

Common Mistakes to Avoid
Steer clear of these pitfalls to ensure your frozen dessert success every time.
- Using Warm Ingredients: Starting with cold, even chilled, heavy cream and condensed milk is non-negotiable. Warm cream won’t whip properly, and a warm base will melt your whipped cream, resulting in a dense final product.
- Overmixing the Base: Once you begin folding the whipped cream into the condensed milk, be gentle and efficient. Stirring or beating vigorously will pop all the precious air bubbles you just created, leading to a hard, icy block.
- Skipping the Surface Barrier: Not placing parchment paper or plastic wrap directly on the surface of the ice cream before freezing is an invitation for large ice crystals to form on top, creating a unpleasant crunchy layer.
- Undercutting Freezing Time: Impatience is the enemy of texture. Freezing for only 3-4 hours will give you a soft-serve consistency. For perfect scoopability, the full 6+ hours is crucial for the structure to set completely.
Storing Tips for the Recipe
To maintain that just-made texture and flavor:
- Airtight is Right: Always store your ice cream in a container with a tight-sealing lid. Glass lock-top containers or metal loaf pans with a secure plastic lid are excellent.
- The Parchment Trick: Reiterate: that piece of parchment pressed on the surface is your best friend for long-term storage (up to 2 weeks).
- Scooping Smarts: For the easiest scoop, let the container sit on the counter for 5-7 minutes before dipping in. Run your ice cream scoop under hot water and dry it quickly for clean, round scoops.
- Avoid the Freezer Door: Store your container in the back of the freezer, where the temperature is most constant. The fluctuating temperature from opening and closing the door promotes ice crystal growth.
Conclusion
Mastering ultra-creamy homemade ice cream is about embracing simple science: high fat, incorporated air, and an ingredient that fights ice crystals. This no-churn method proves gourmet results are incredibly accessible. Now that you have the blueprint and the tips, it’s your turn to create, customize, and conquer. We’d love to see your creations! Did you try a wild mix-in or a healthier swap? Share your feedback in the comments section below, and don’t forget to subscribe for more easy, transformative recipes delivered straight to your inbox.
FAQs
Q: Can I make this recipe without any electric mixer?
A: Absolutely! While a mixer makes whipping the cream fastest, you can use a sturdy whisk and some determined elbow grease. Ensure everything is very cold to help the process. A large balloon whisk is your best manual tool.
Q: My ice cream is too hard right out of the freezer. What did I do wrong?
A: This is common! It’s likely due to either a slight over-measurement of condensed milk (which contains sugar that hardens when very cold) or simply needing more “tempering” time on the counter before scooping. Let it sit for 5-10 minutes. For future batches, ensure you’re not over-folding and deflating the air.
Q: Can I use this base to make other flavors beyond vanilla?
A: 100%! This vanilla base is a perfect canvas. For chocolate, add 1/2 cup of high-quality cocoa powder sifted into the condensed milk. For coffee, dissolve 2 tablespoons of instant espresso powder into the vanilla extract before adding. Get creative with spices, extracts, or pastes.
Q: How long does homemade ice cream last in the freezer?
A: When stored properly with a surface barrier in an airtight container, it will maintain optimal texture for about 2 weeks. After that, it remains safe to eat but may develop more ice crystals and suffer flavor loss.
Try These Recipes Next !!
If you love cooking and are looking for more recipes, we have a selection you’ll enjoy.
- Cranberry Orange Loaf Cake
- Fun and Easy 18th Birthday Cake
- Chocolate Chunk Banana Bread
- Cat Birthday Cake
- Stitch Birthday Cake
Leave a Reply
There are no reviews yet. Be the first one to write one.